Customize Your Checkout Experience
Customize your quote presentation and checkout agreement to match your company branding, messaging, and sales process
How to Customize Your SetSale Presentation and Checkout
Owners can customize presentations and the checkout agreement your customers sign.
Your presentation is what homeowners see when you share or present a quote. In this article, we'll walk through how to make it match your company's branding, messaging, and sales process, and how to customize the agreement customers sign at checkout.
Presentations are shared across your whole team, so every change you make here shows up for every rep.
Step 1: Open Your Presentation
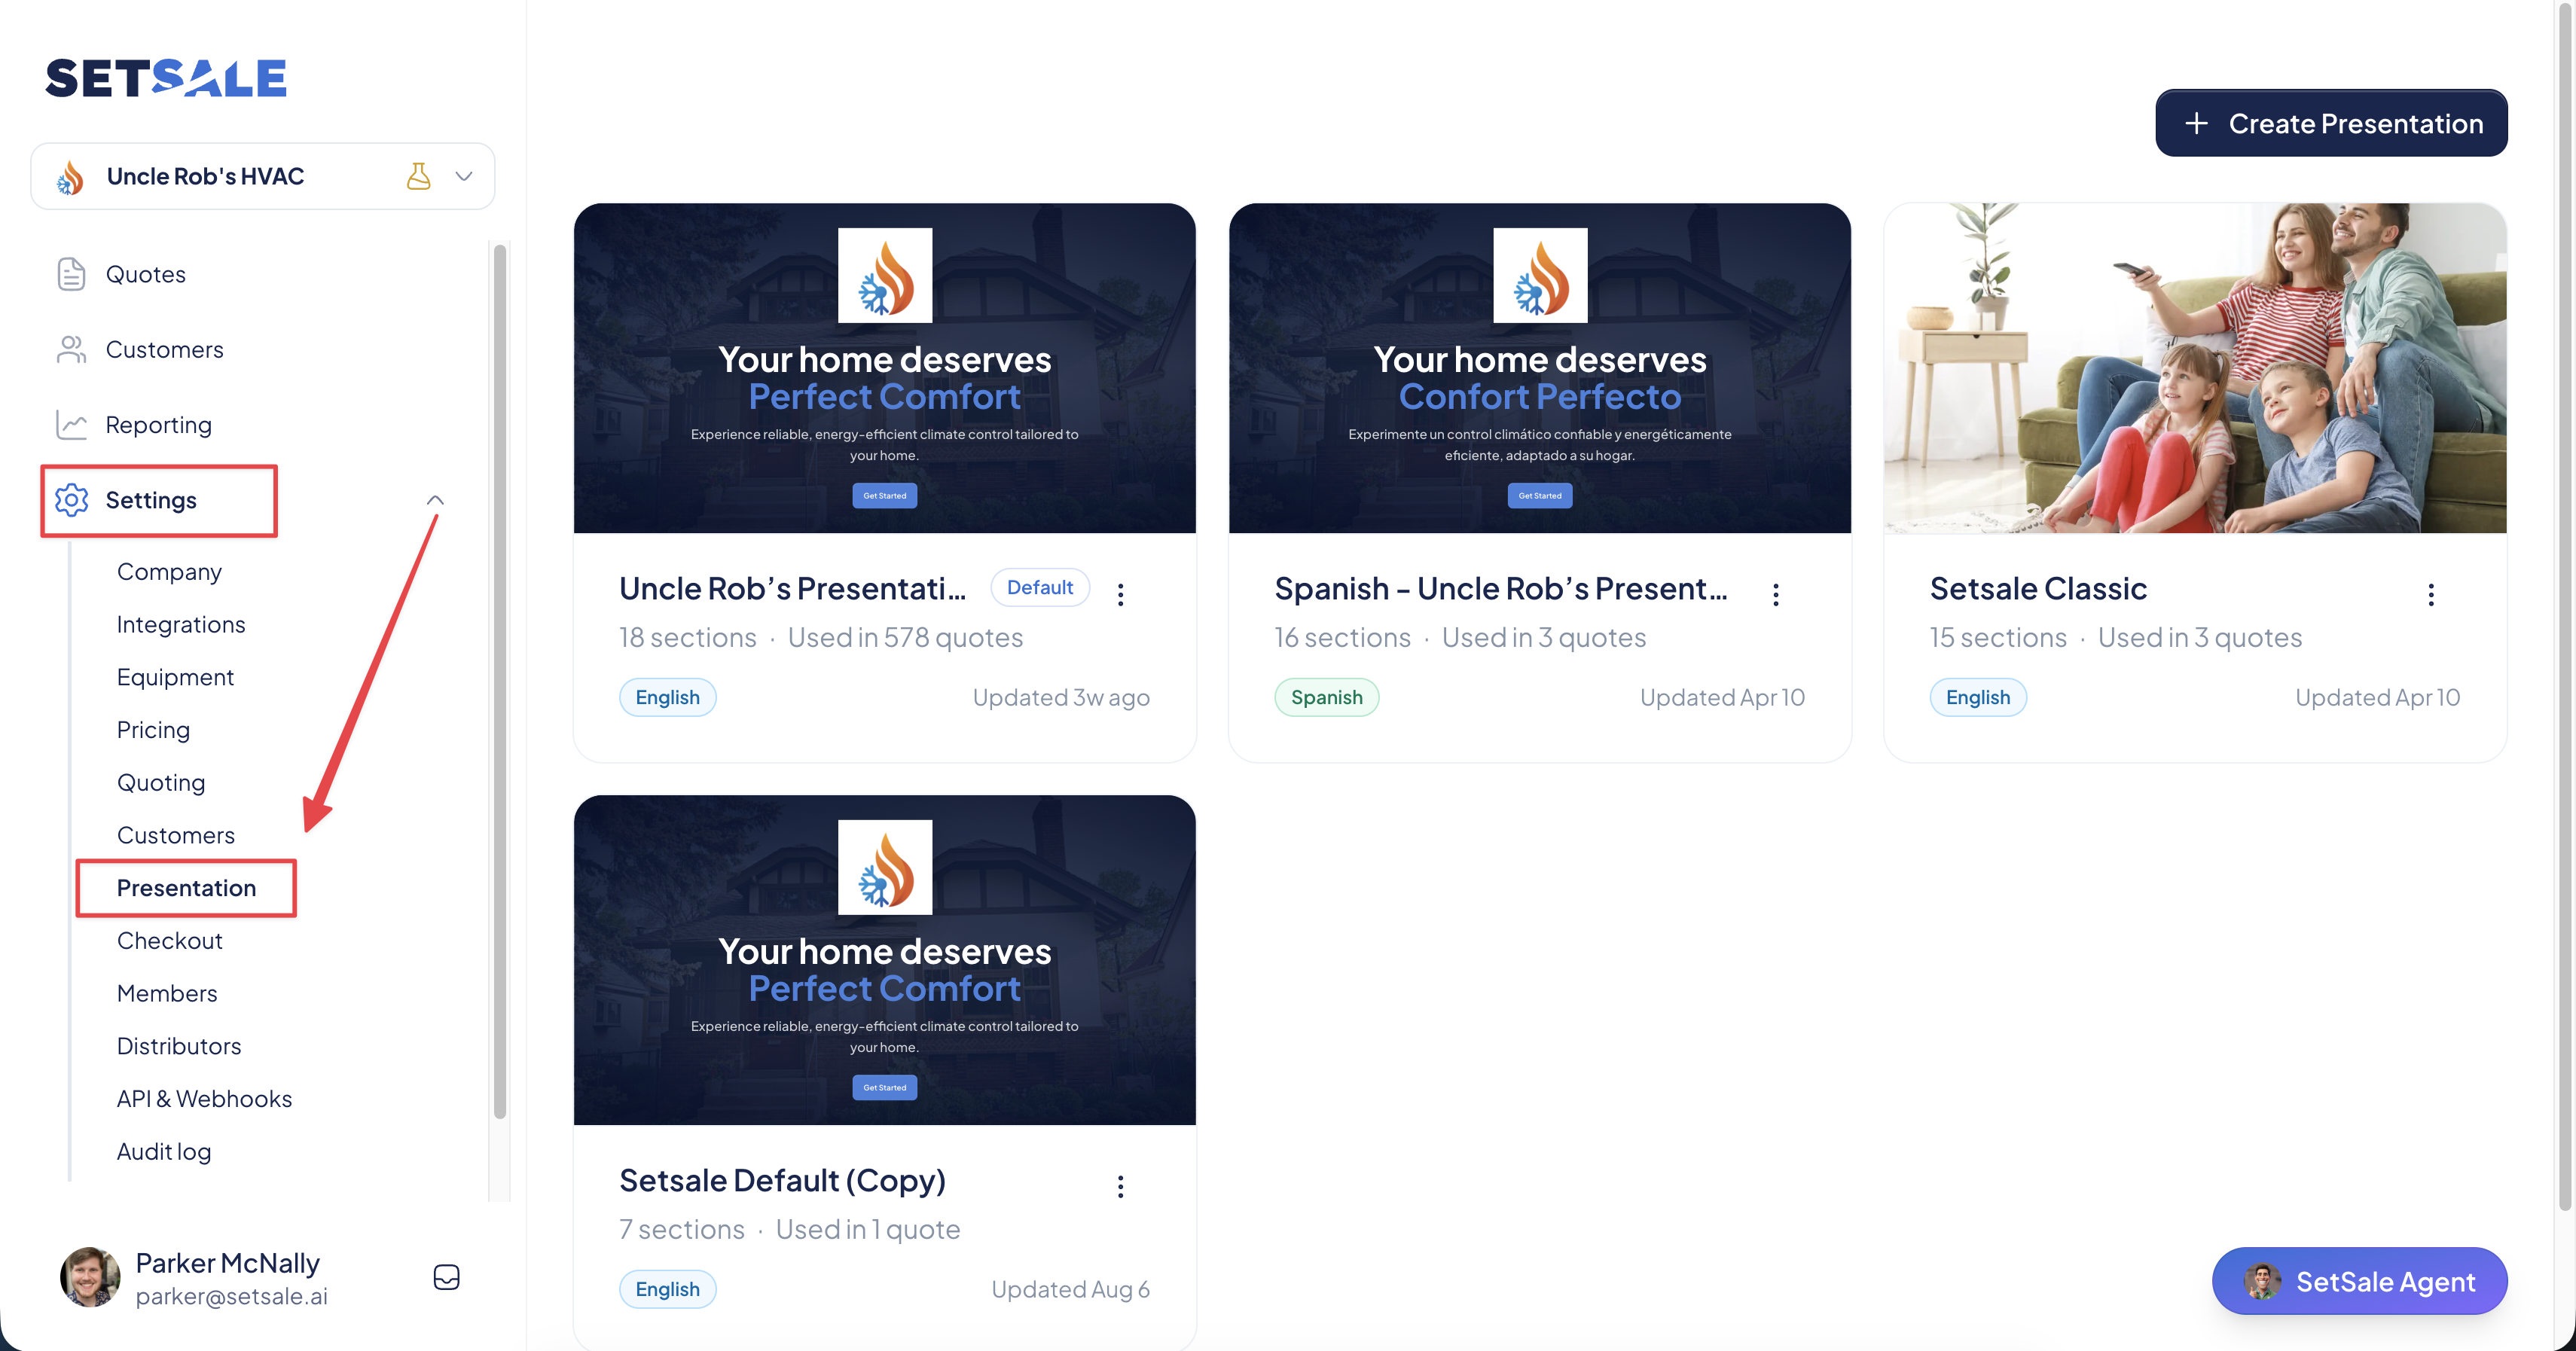
- Click Presentations in the main menu.
- You'll land on the Presentations home page, which lists every presentation your team has.
- Click Open on the presentation you want to edit.
If your account was set up before Flexible Presentations, your original presentation is listed as SetSale Classic. All your previous edits carried over.
Step 2: Edit Your Slide Content
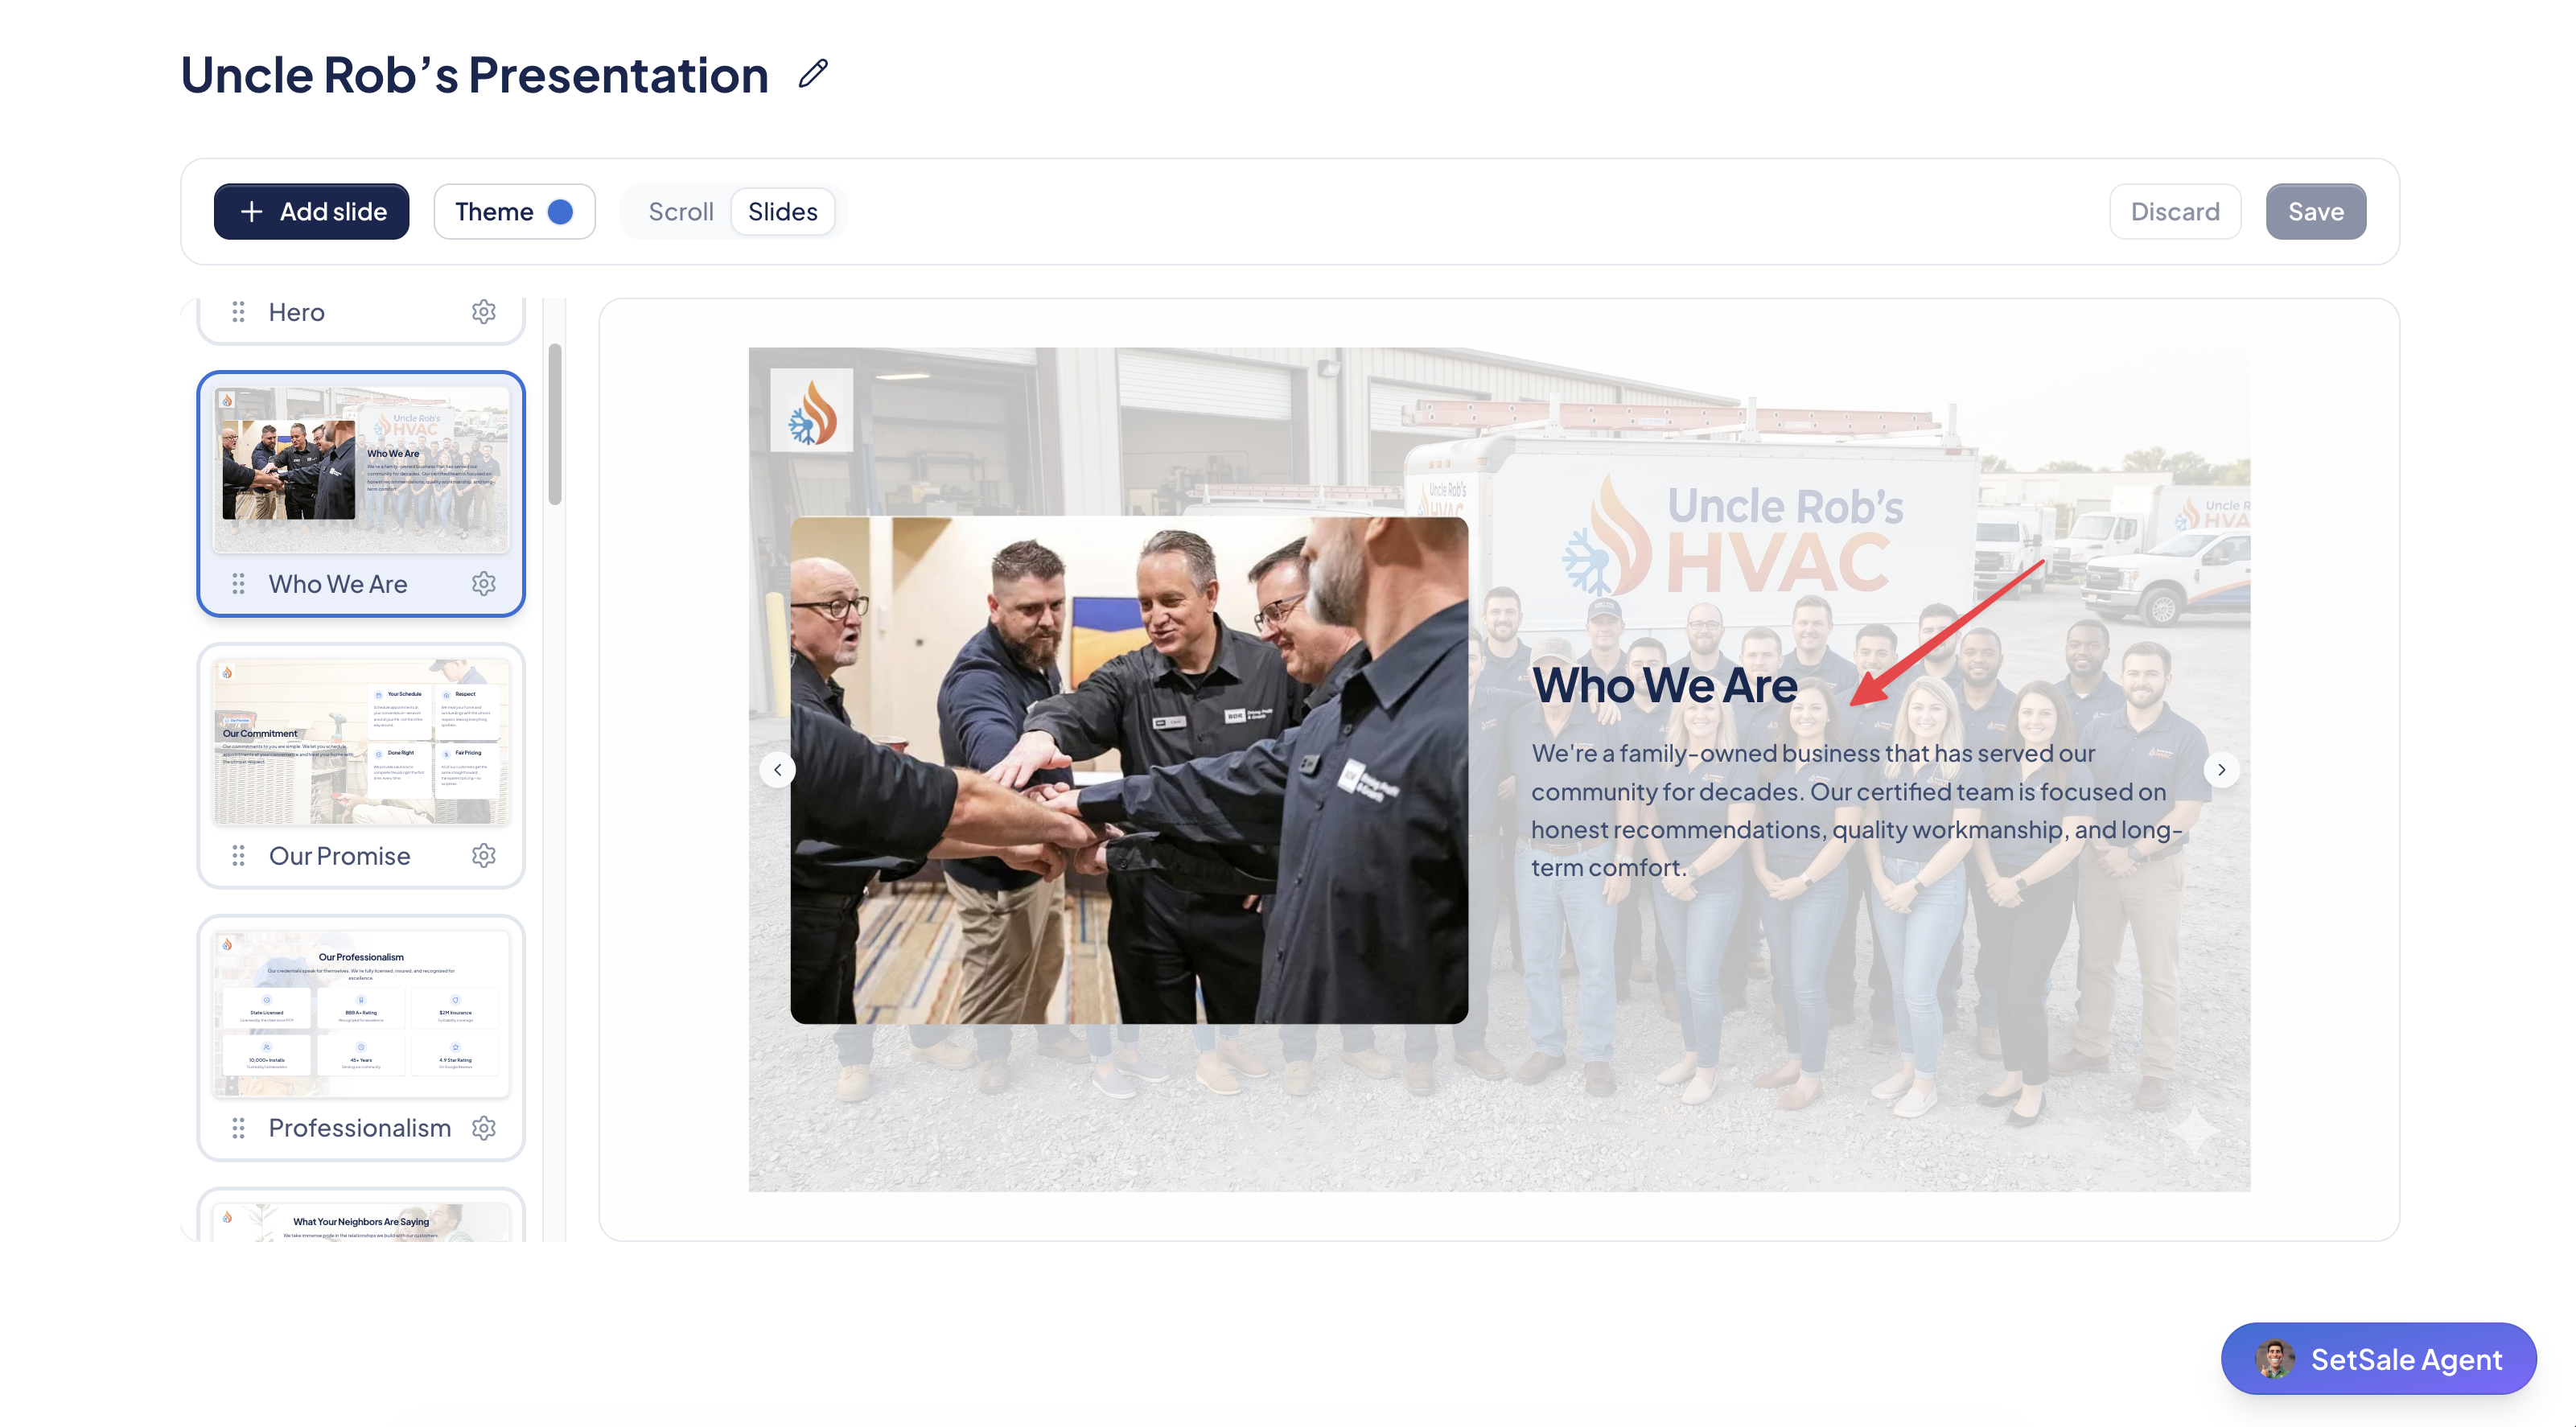
Almost everything on a slide is editable. Start with the slides that carry company-specific info.
- Text: Click any text area to rewrite it. Update the "Our Promise" and "Our Guarantee" slides with your real company details first.
- Customer reviews: Click a testimonial card to edit the quote, author name, and role. Paste in your best 5-star Google reviews.
- Warranty details: Update coverage terms, column titles, and card subtitles to match what you actually offer.
- Images: Click an image to open the Image Library. Choose a stock image, an equipment image, or upload your own. You can crop and reposition images after placing them.
- Logo overlays: Add your company logo to individual slides.
A few general education slides (like the "How Does It Work?" home diagram) are locked. If you need a different version, add a new slide with a similar layout and write your own.
Step 3: Add, Reorder, or Remove Slides
- Add a slide: Click Add Section (or +) where you want it. Pick a blank layout (text, image, image + text, cards, or graph) or a pre-built slide from the Content Library, such as the Thermostats slide.
- Reorder: Drag and drop slides in the left sidebar.
- Duplicate or delete: Click the gear icon on a slide and choose Duplicate or Delete. Deleting only affects this presentation.
- Save for reuse: Click the gear icon → Save to Library. The slide appears under Custom Sections for use in any of your presentations.
For full details, see How to Customize Slides in Your Presentation.
Step 4: Update Narration (Slide Mode Only)
In slide mode, each slide can have an AI voiceover, including the opening slide.
- Click the gear icon on the slide.
- Select Narration.
- Edit the transcript, then generate new audio. You can also record your own voiceover instead.
When you present, narration plays when you press play. When a homeowner opens the presentation from a shared link, narration plays automatically.
Step 5: Show the Right Slides for Each Quote
Use Visibility Rules to show a slide only when it applies, such as a Carrier warranty slide that only appears on quotes with Carrier equipment.
- Click the gear icon on the slide.
- Select Visibility Rules.
- Set conditions by System Type or Manufacturer, then save.
See How to Use Slide Visibility Rules for examples.
Step 6: Set Your Brand Colors
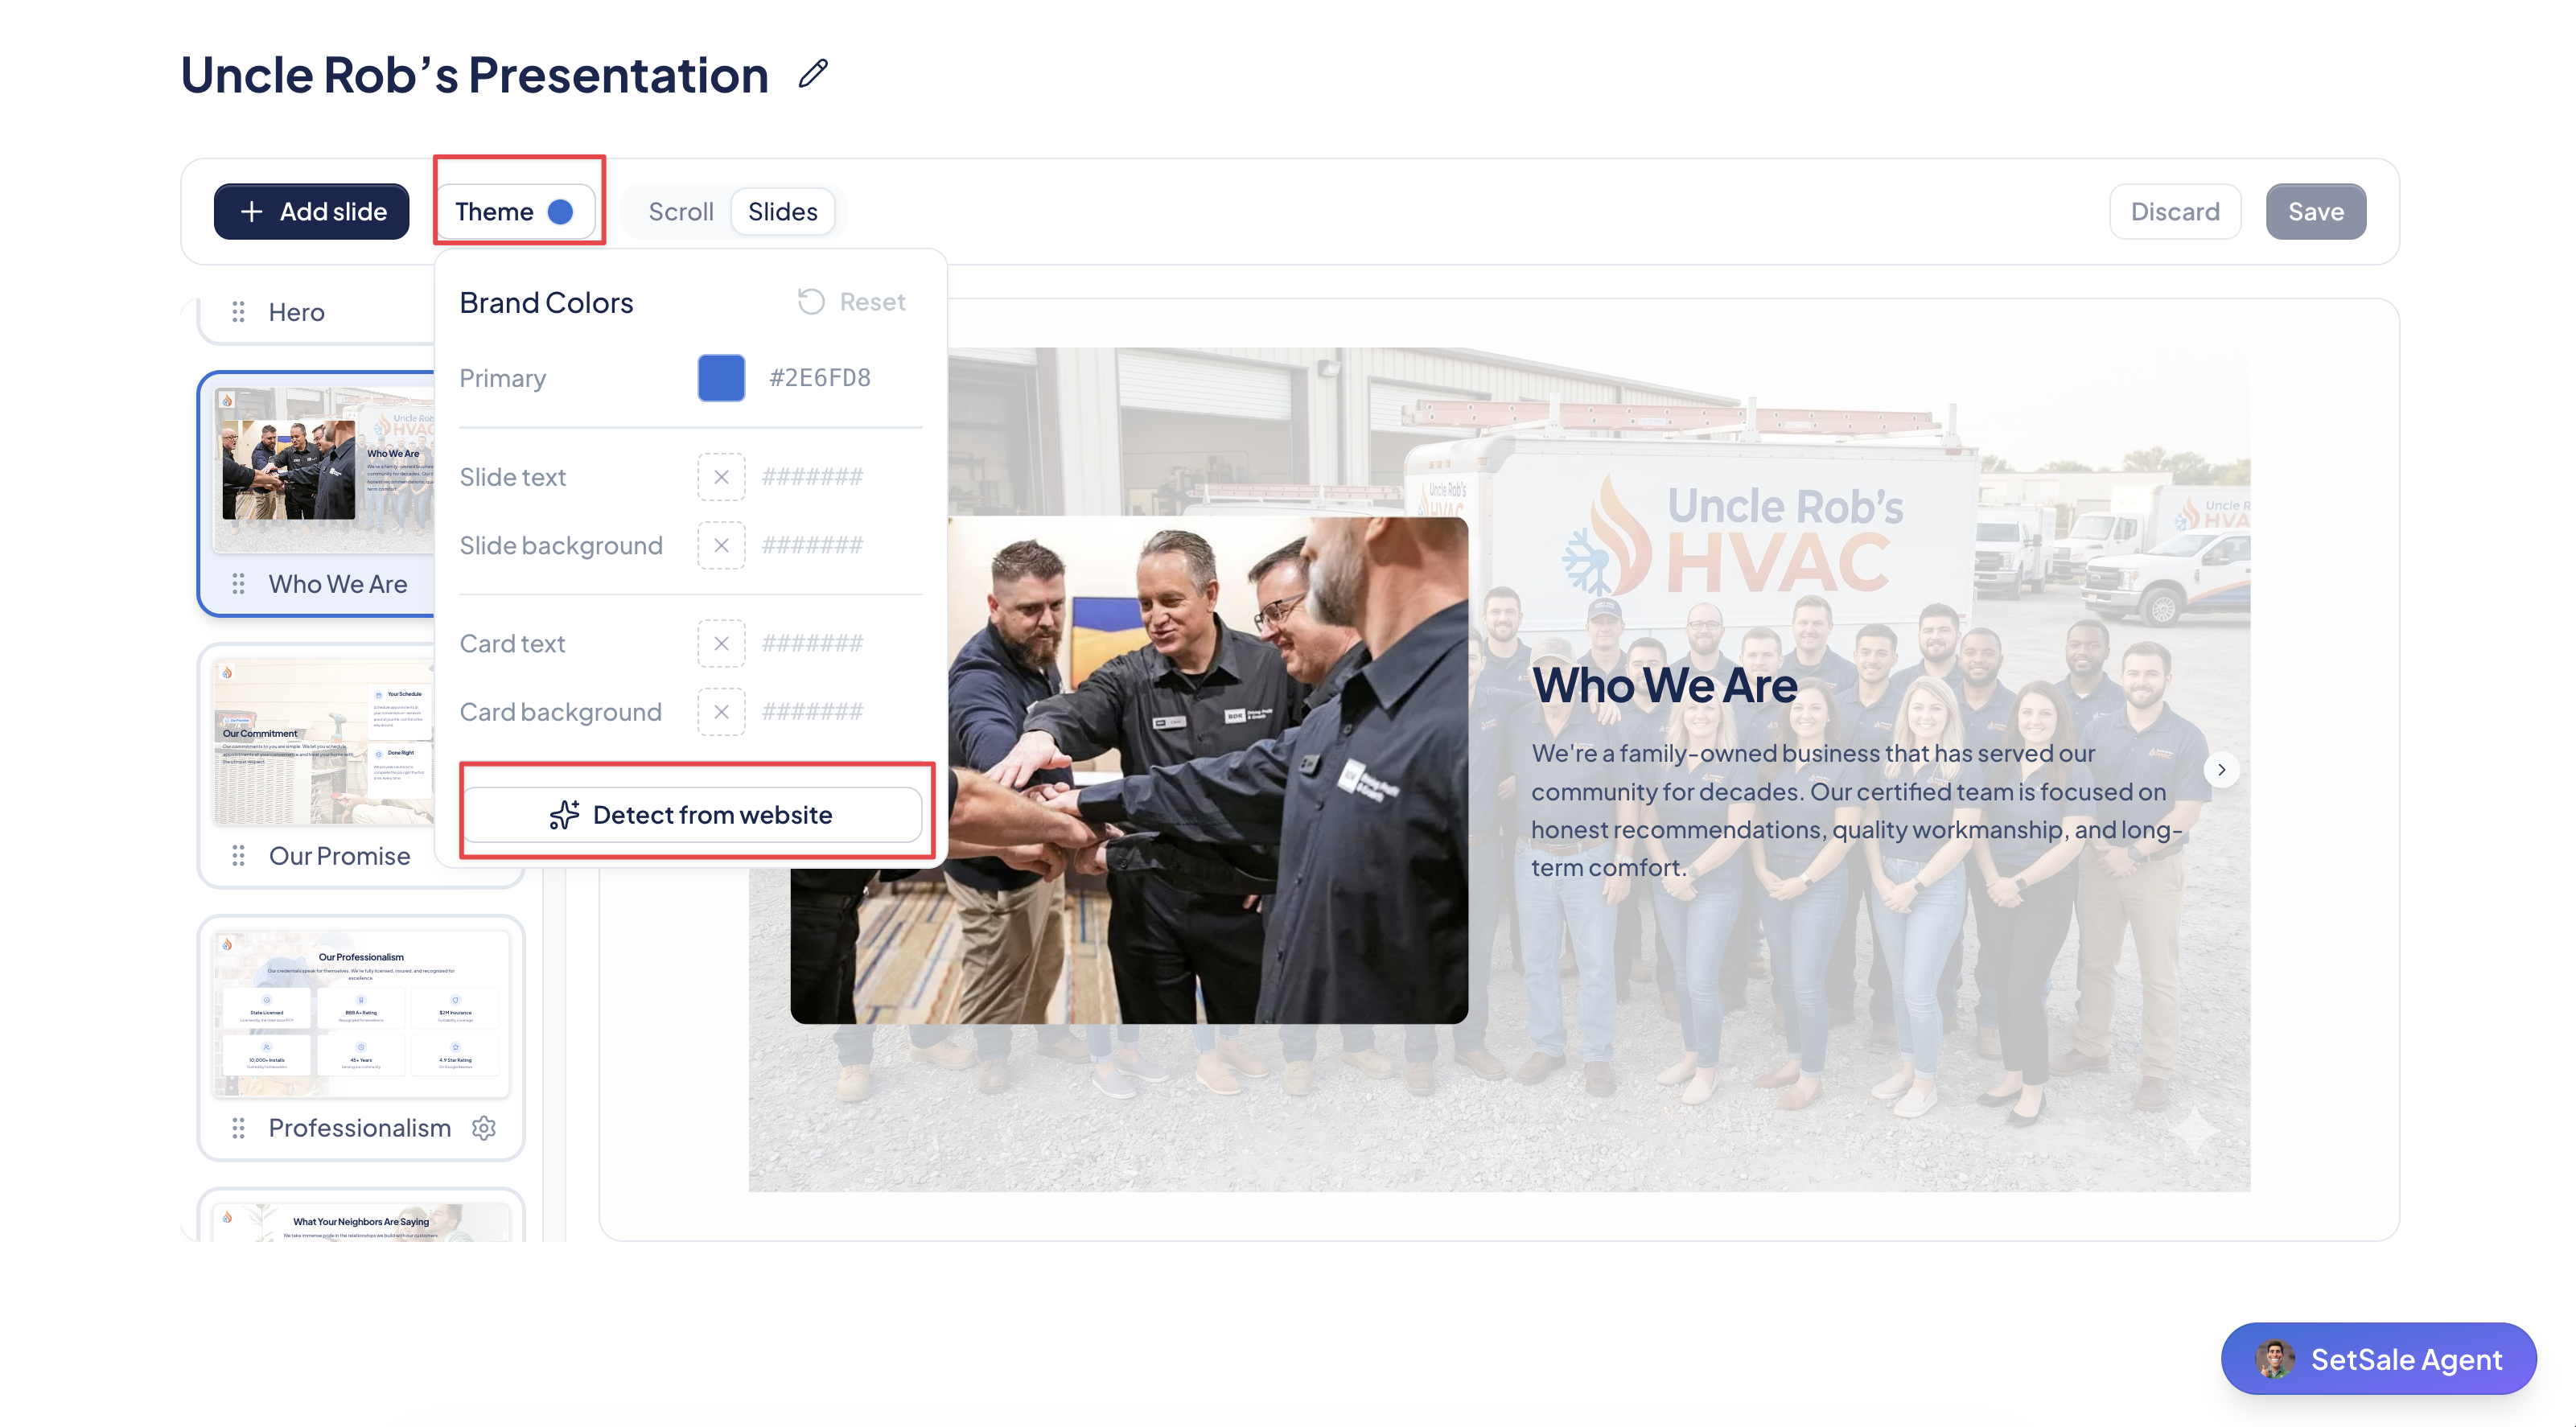
- Open your presentation.
- Click the Theme option (palette icon).
- Adjust your Primary and Secondary colors.
Changes preview in real time, so you can see how they look before saving.
Step 7: Choose Slide Mode or Scroll Mode
| Slide Mode | Scroll Mode | |
|---|---|---|
| Format | Click through one slide at a time | Scrollable web page, with section navigation |
| Narration | Yes | No |
| Best for | Presenting in person | Homeowners viewing on their own phone or tablet |
Step 8: Customize the Checkout Agreement
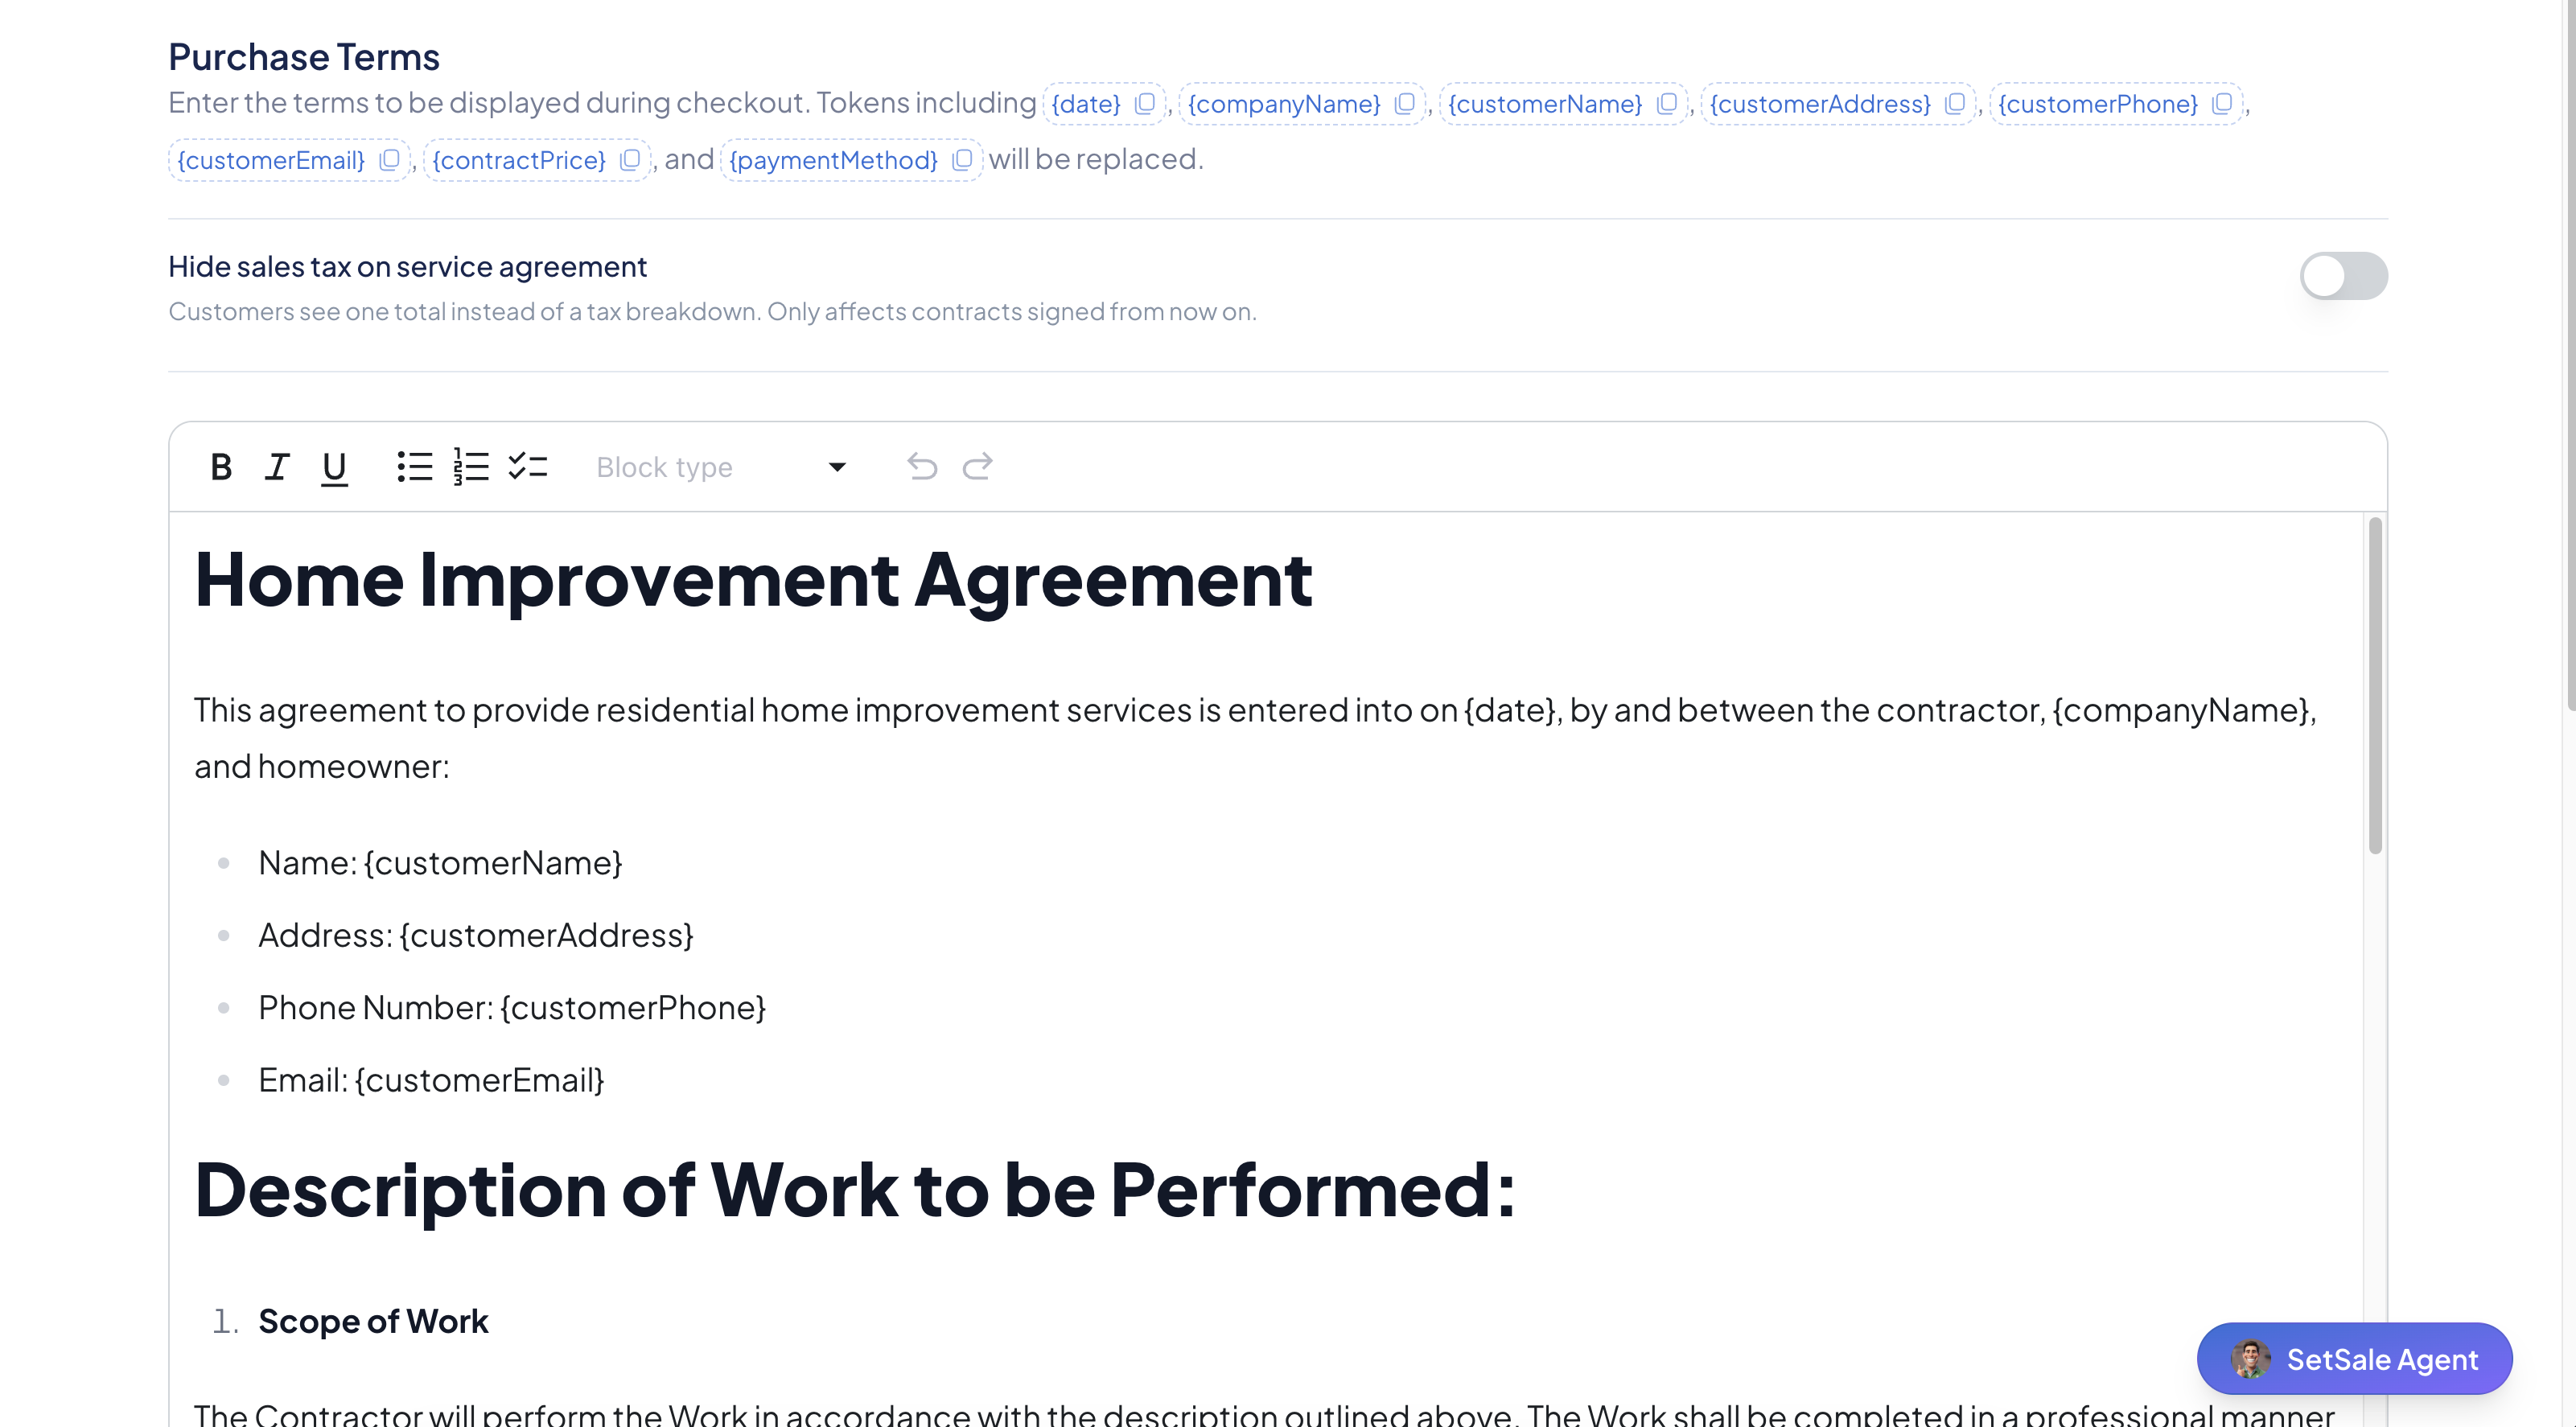
This is the agreement customers sign when they accept a quote. The signed version is saved as a Customer Agreement PDF.
- Open the Checkout settings.
- Edit the agreement text. You can use headings, lists, tables, and numbered sections, and they'll carry over to the signed PDF.
- Use tokens to fill in quote details automatically:
| Token | Fills in |
|---|---|
| #{{date}} | Date of signing |
| #{{company_name}} | Your company name |
| #{{customer_address}} | Customer's service address |
| #{{customer_phone}} | Customer's phone number |
| #{{customer_email}} | Customer's email |
| #{{contract_price}} | Final contract price |
| #{{payment_method}} | Cash, financing, etc. |
- Optionally, customize the next steps message customers see after checkout. This message also appears in their purchase confirmation email, so use it to explain how you schedule installs.
Save and Test
Save your changes, then build a test quote using your own name, email, and phone number. Share it to yourself and open it on your phone to see exactly what your customer sees.